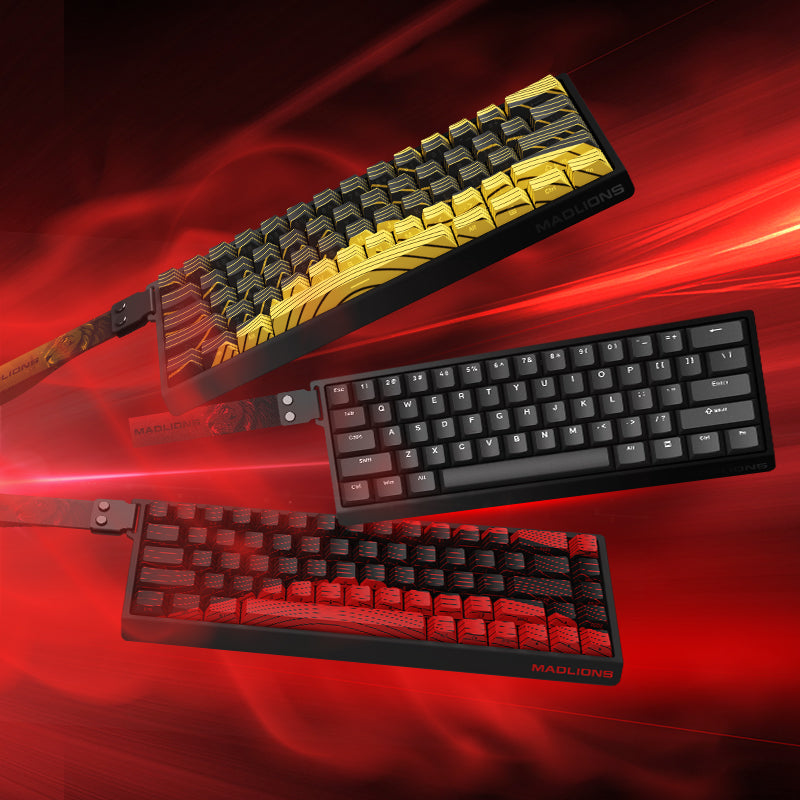
Welcome to f.gg, the official home of FGG(MADLIONS) Magnetic Keyboards. Known for their durability, ultra-fast responsiveness, and unique tactile feel, magnetic keyboards have become a favorite among gamers worldwide. To keep your keyboard performing at its best and reflecting your personal style, regularly replacing keycaps and switches is essential. In this guide, we’ll walk you through the safe and efficient steps to upgrade your magnetic keyboard like a pro.
1. Tools You’ll Need
Before you start, gather the right tools to ensure a smooth process and protect your keyboard and new components:
-
Keycap Puller: We recommend the wire-style puller for even pressure that minimizes damage to your keycaps.
-
Magnetic Switch Puller: Specifically designed for magnetic switches, this tool securely grips the switch without causing harm.
-
New Keycaps and Switches: Be sure to choose parts compatible with your FGG magnetic keyboard—pay close attention to switch models and pin types.
-
Cleaning Tools (Optional): A small brush or air blower helps remove dust and debris inside your keyboard.
-
Small Tray (Optional): Useful for keeping screws and small parts organized to avoid losing anything.
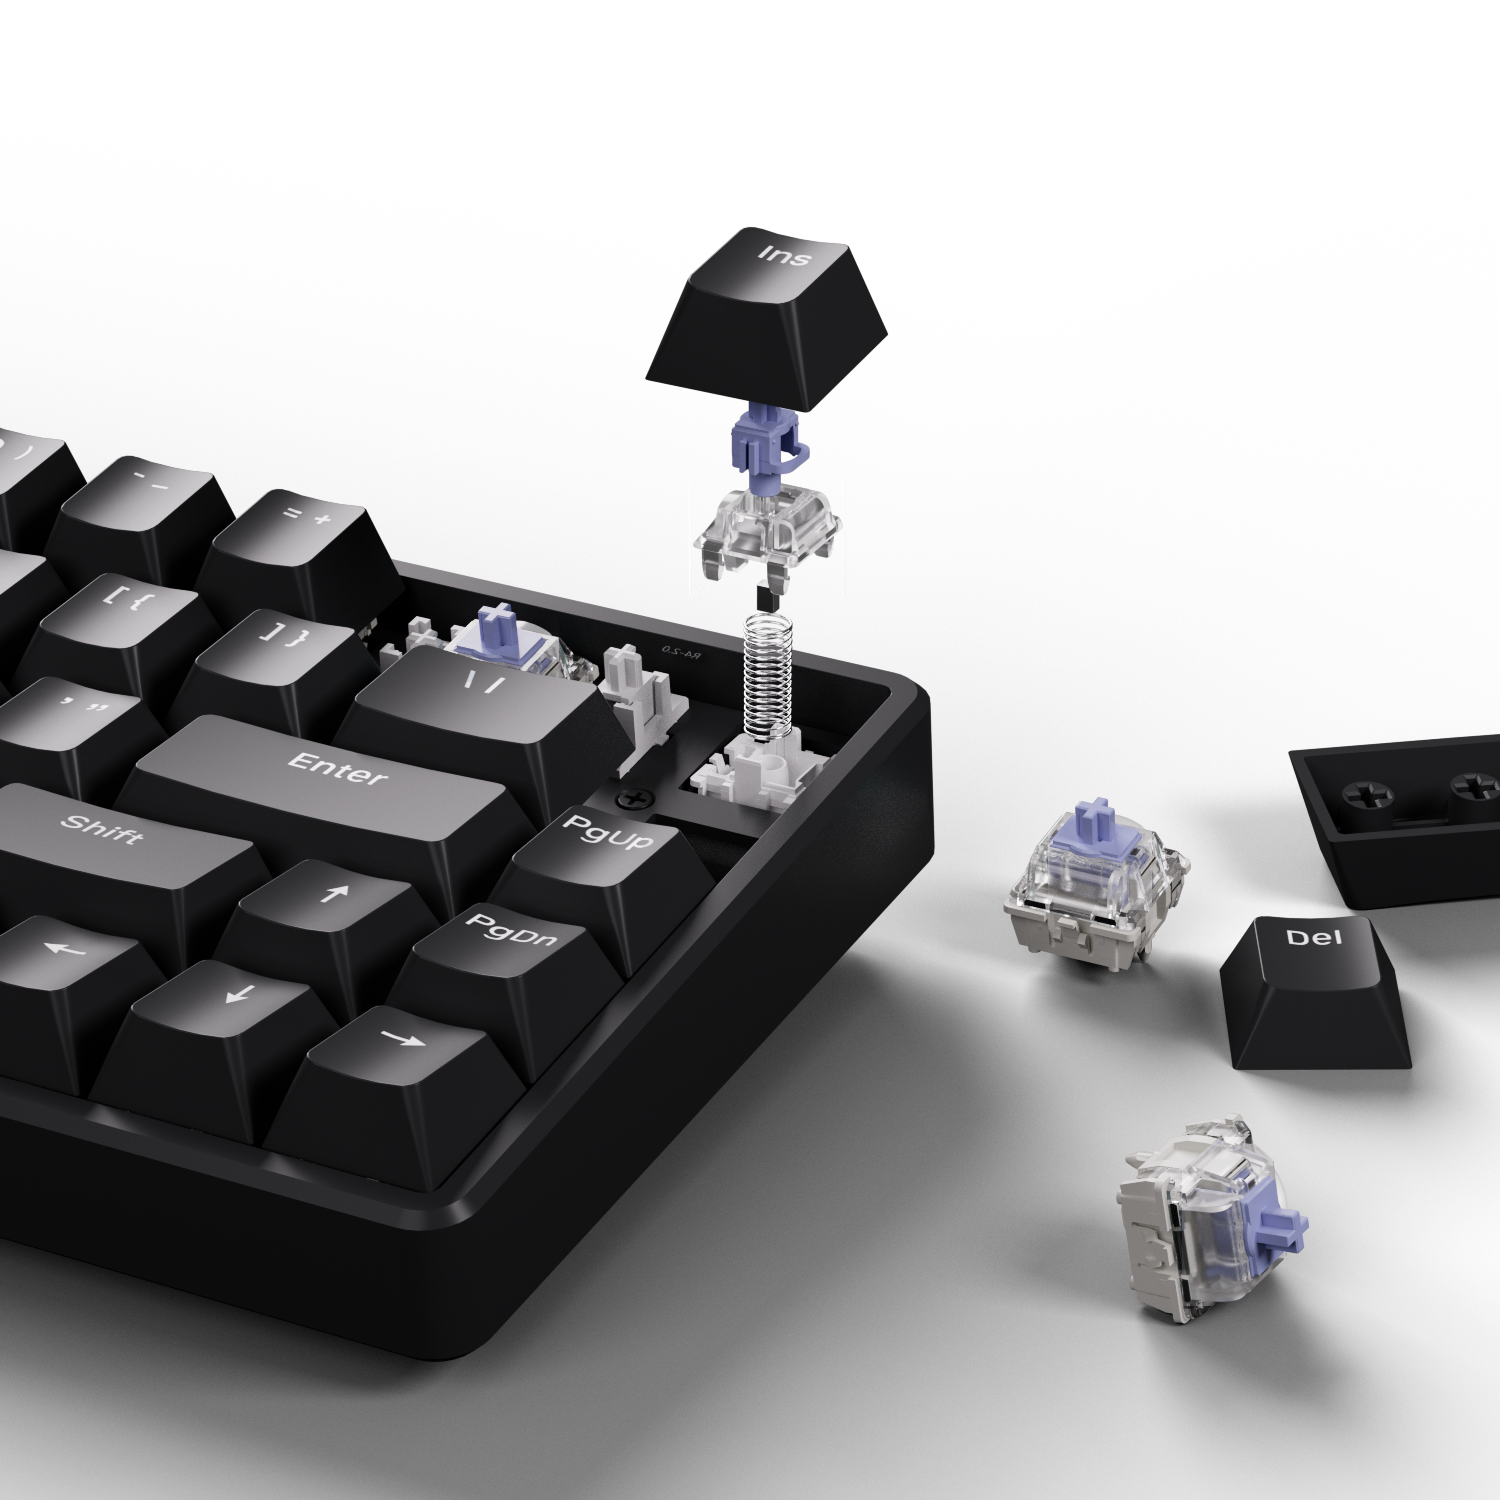
2. Steps to Replace Keycaps
-
Use your keycap puller to firmly grasp the sides of the keycap you want to remove.
-
Pull straight up with even force. Avoid pulling at an angle to prevent damaging stabilizers or magnetic switch components.
-
For larger keys like the spacebar and enter key, proceed with extra caution since these contain stabilizers underneath.
-
To install new keycaps, align the cross-shaped slot at the bottom of the keycap with the magnetic switch stem, then press down firmly until you hear a satisfying click, confirming a secure fit.
3. Steps to Replace Magnetic Switches
Most FGG magnetic keyboards feature a hot-swappable design, meaning no soldering is required to replace switches:
-
Remove all keycaps to access the switches easily.
-
Using the magnetic switch puller, grip the tabs on the top and bottom of the switch and gently pull straight up. Avoid wiggling or pulling at an angle to protect the PCB socket.
-
Inspect the metal pins at the bottom of the new switch. They must be perfectly straight—if bent, carefully straighten them with tweezers.
-
Align the pins with the holes in the PCB socket and press the switch straight down until firmly seated.
-
After installing all switches, plug in your keyboard and test each key to ensure proper function.
4. Tips and Important Notes
-
Protect the Pins: Bent pins are the most common cause of installation issues. Never force a switch in if it doesn’t fit smoothly.
-
Compatibility Check: FGG keyboards support many mainstream magnetic switches, but always verify model compatibility before purchasing.
-
Regular Cleaning: Take advantage of the disassembly process to clean dust and prolong your keyboard’s lifespan.
-
Work in a Clean Space: Choose a bright, clutter-free workspace to keep track of all parts and avoid losing any components.
5. Conclusion
Replacing your keycaps and magnetic switches isn’t just about refreshing your keyboard’s look — it’s about customizing your tool for peak performance and personal comfort. At FGG, we’re committed to providing high-performance, premium magnetic keyboards, paired with easy-to-follow maintenance guides to help you become a true keyboard enthusiast.
Ready to elevate your gaming experience? Visit our official website f.gg to explore our products and discover more tips to personalize your keyboard journey.
If you want, I can also help format this article for your blog, create social media summaries, or prepare it in HTML or Markdown. Just let me know!